Creating Facebook Pixel in Business Manager is one of the ways that marketers can utilize Facebook as a marketing tool.
It is such a powerful tool that has helped many business owners turn their ideas into reality.
Facebook, with a huge reach of over 2 billion monthly active users, is one of the most powerful marketing tools on the internet. It’s not slowing down anytime soon.
This article will cover 5 quick steps on how to create your own pixel and how to integrate it into your Shopify store so that you can start making more sales.
Let’s dive right in!
STEP 1: SET UP BUSINESS MANAGER ACCOUNT
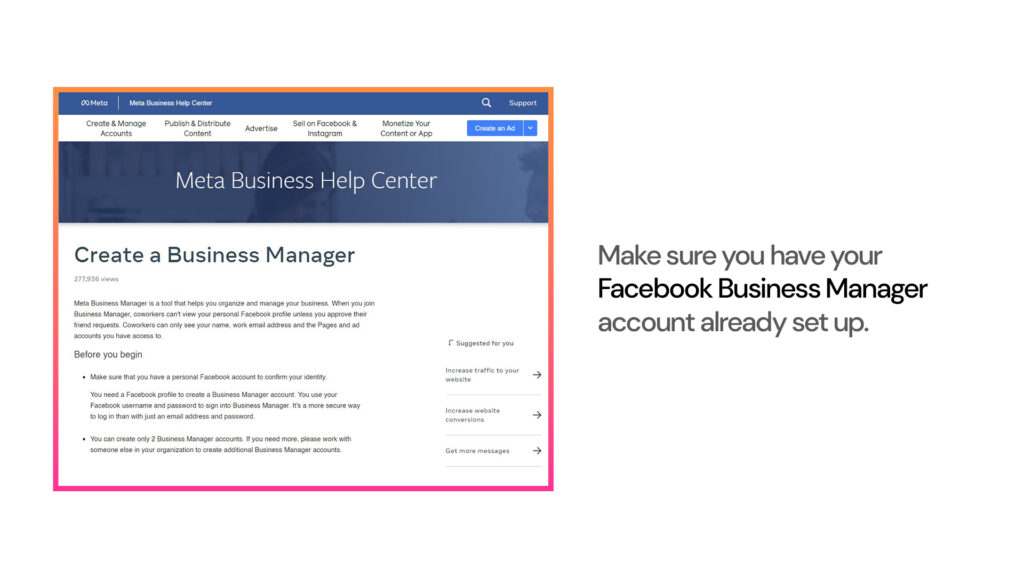
Before you start, make sure you have your Facebook Business Manager account already set up.
Click here to create one if you haven’t already.
STEP 2: LOG INTO YOUR FACEBOOK BUSINESS MANAGER
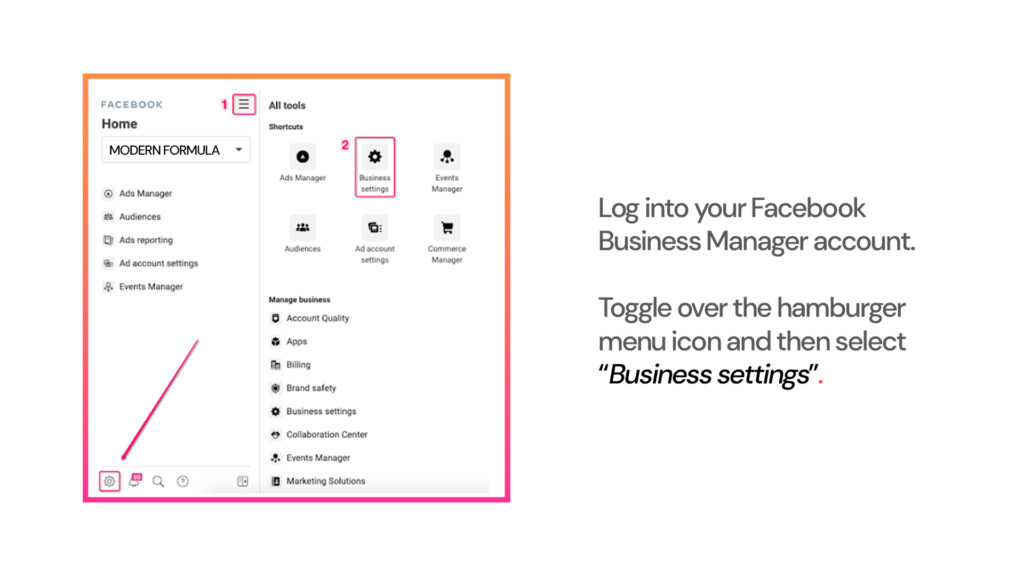
Once you’re logged in to the business manager, toggle over the hamburger menu icon and select Business settings from there.
You can also head over to the gear icon found on the bottom left of the menu bar.
STEP 3: CHOOSE YOUR BUSINESS ACCOUNT
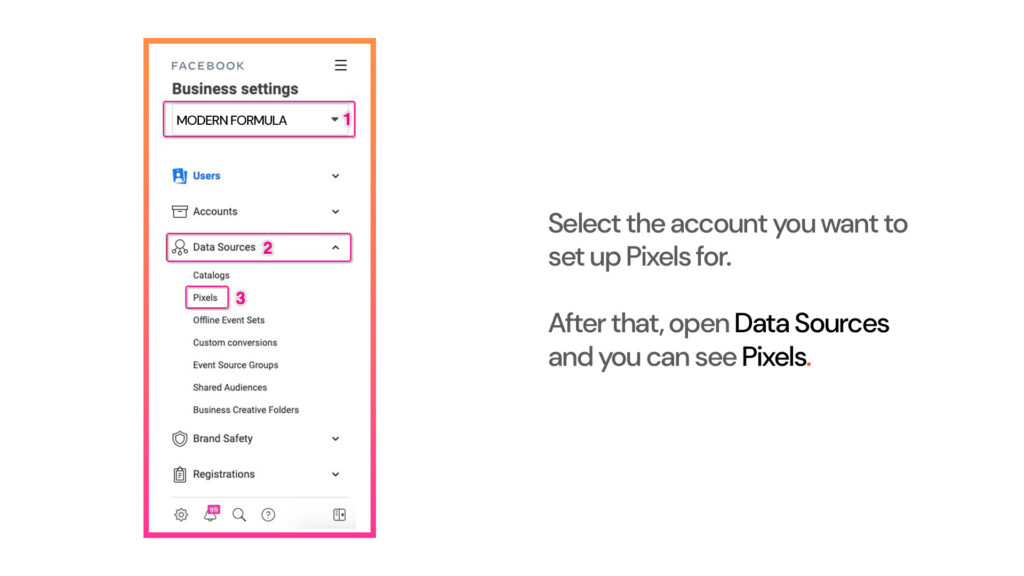
Select the account you want to set up Pixels for.
After that, open Data Sources and you can see Pixels.
STEP 4: INSTALL FACEBOOK PIXELS
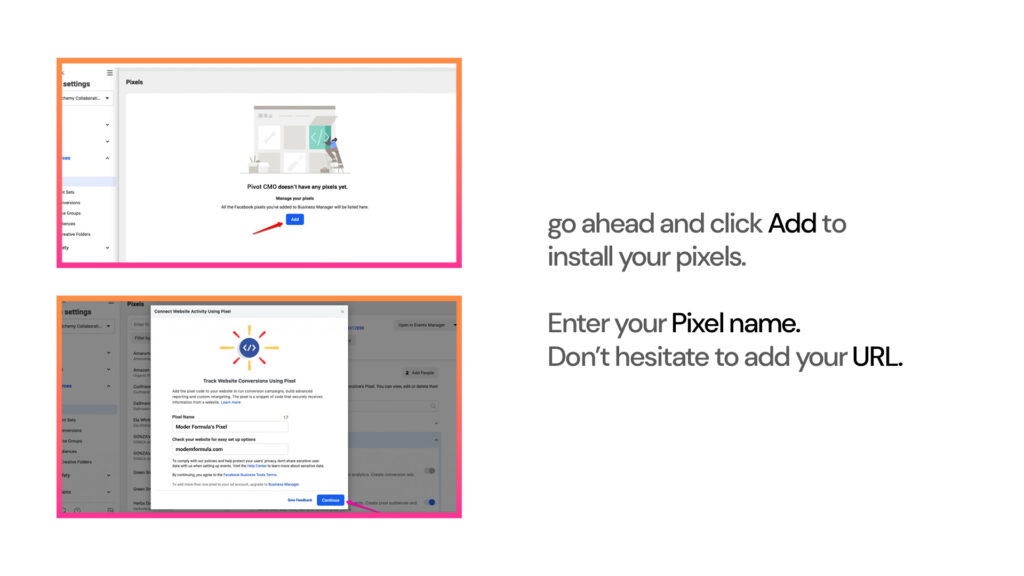
After selecting Pixels from the menu, go ahead and click Add to install your pixels.
Enter your Pixel name. It is optional to add your website but if you want to check out easy setup options, don’t hesitate to add your URL.
STEP 5: SET UP PIXELS
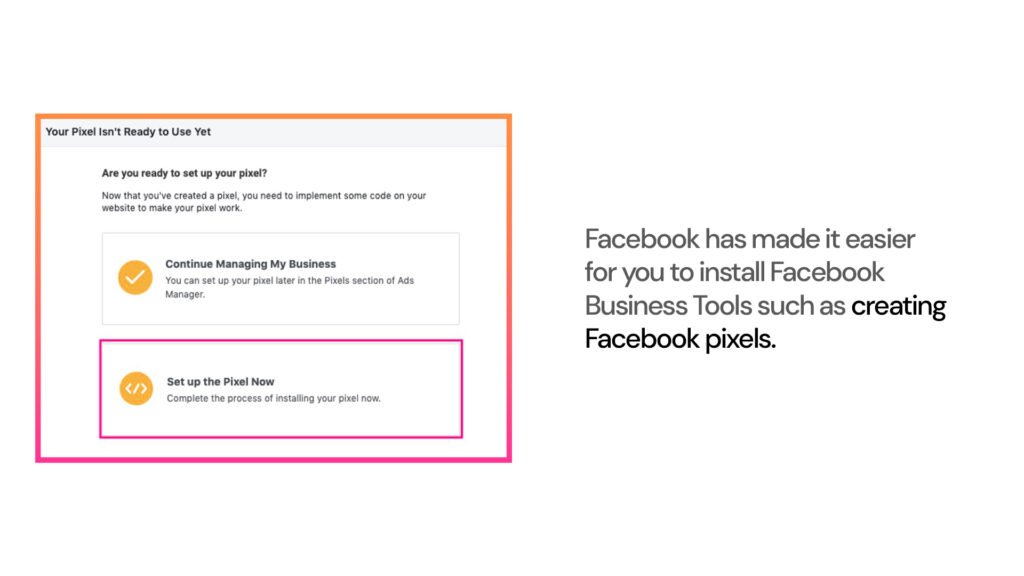
Facebook has made it easier for you to install Facebook Business Tools such as creating Facebook pixels.
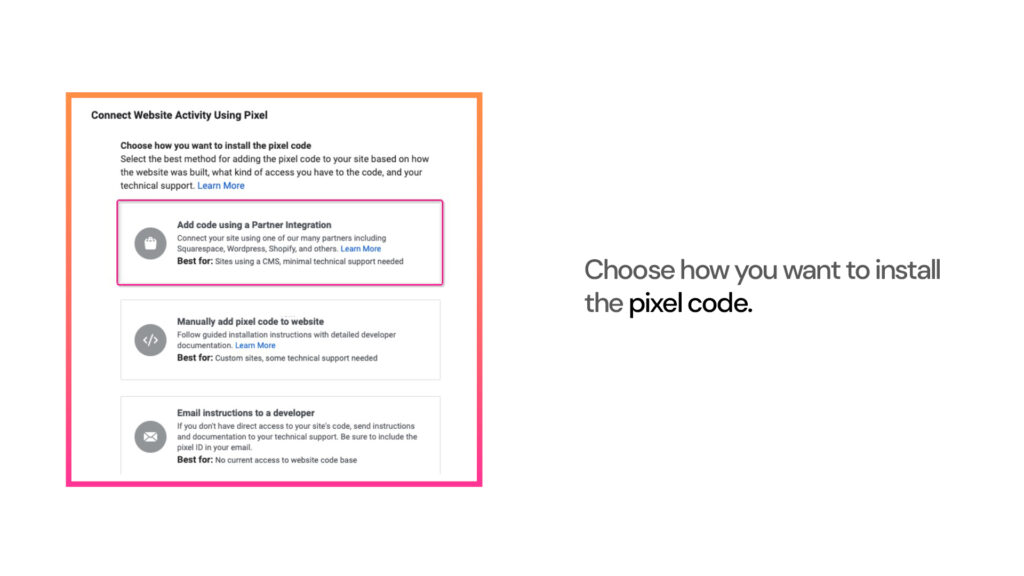
With these partner integrations, you can set up the social media platform’s pixel, app events, and offline conversions API so that your ads can better understand their success or failure at reaching customers through mobile screens!
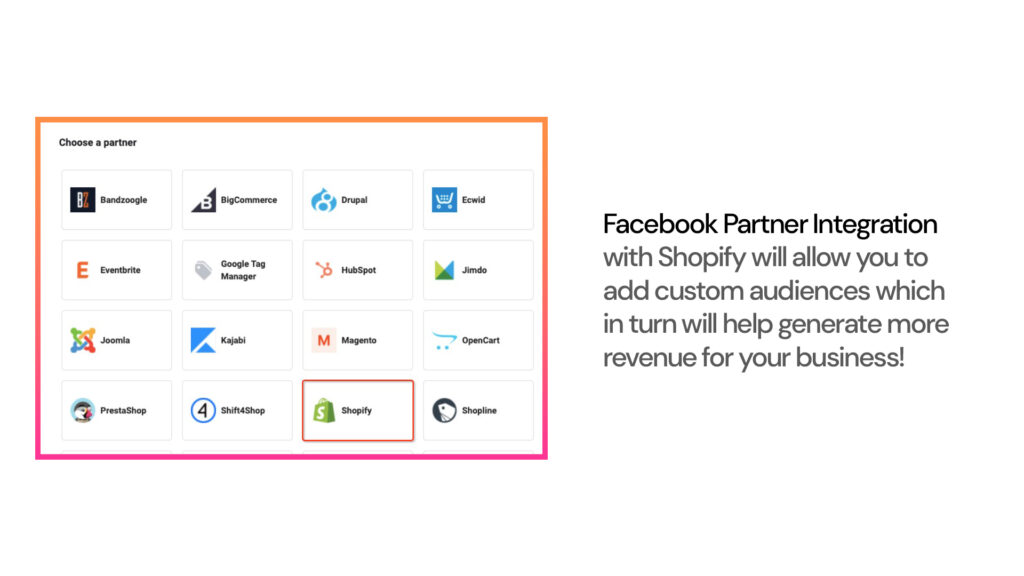
Facebook Partner Integration with Shopify will allow you to add custom audiences such as email subscribers, app installs, or website visitors on Facebook, which in turn will help generate more revenue for your business!
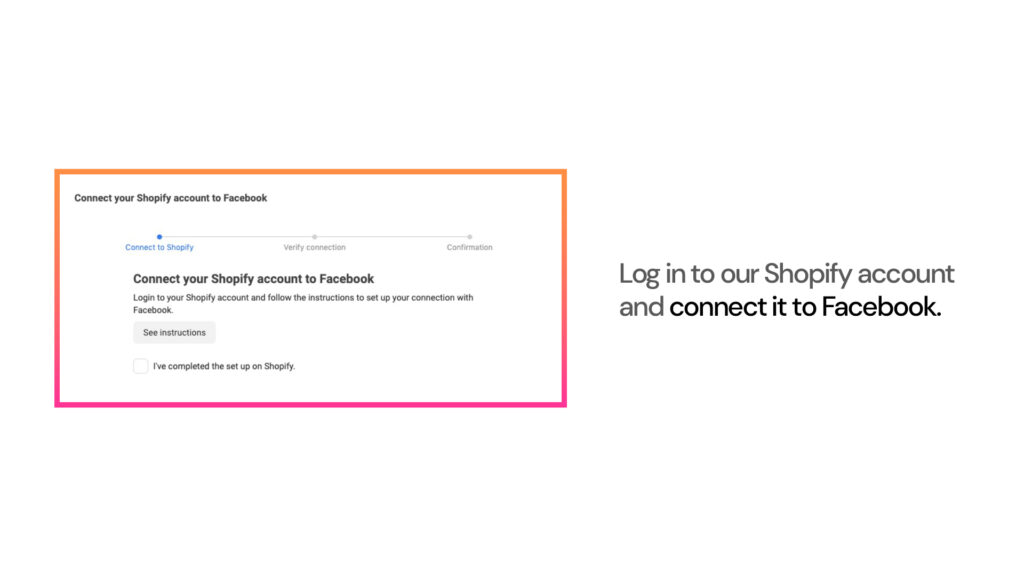
Click Close. We’ll now log in to our Shopify account and connect it to Facebook.
Continue to our next blog on How to Set Up Your Facebook Shop on Shopify: Updated Step-by-Step Guide 2021
Complete it and you’re ready to roll!
Facebook Conversions API
The new iOS 14 update has created some challenges for marketers and made it more difficult to track people’s browsing.
This is where Facebook Conversions API comes in to help marketers and advertisers by providing a way for them to see who their customer or prospect is on the other side of the screen.
There’s still work left to do before everything is in order. Once your Facebook pixel setup is complete, implement your Facebook Conversions API right away.
This will ensure that your marketing efforts are relevant and up-to-date with the latest changes in device technology, but it also provides a more accurate customer view of who’s engaging with your app or website.
If you’re still feeling confused about the latest updates in iOS, Facebook CAPI, creating your Facebook pixel or Shopify setup don’t worry. Our team of experts is here to help!
Whether you need more information on how the new tracking features work with your mobile app, which one is best for what type of business, or any other question at all – just ask us!
It will be our pleasure to provide guidance as well as personalized recommendations based on your unique needs.
Fill out our contact form at modernformula.com! We’re always happy to help.
